Solarfox Integration
The stromleser.one can be integrated as a data source into your Solarfox display system. The connection runs via MQTT: you add the stromleser.one as a data source in the Solarfox dashboard and then transfer the generated connection details to the energieleser app conveniently via QR code. Your meter data is then displayed automatically on your Solarfox displays and in slideshows. The following steps explain how it all works.
This integration is only available for stromleser.one devices.
Requirements
Before you start the setup, make sure that:
- your stromleser.one is installed at the meter and set up in the energieleser app
- the stromleser.one is online in the energieleser app and delivers live data
- you have access to the Solarfox online portal (dashboard)
- the energieleser app is up to date
Before installation, please note that your electricity meter must be unlocked via PIN entry so that the stromleser.one can read and transmit the data in real time. You can find out how this works here.
Part 1: Add the data source in the Solarfox dashboard
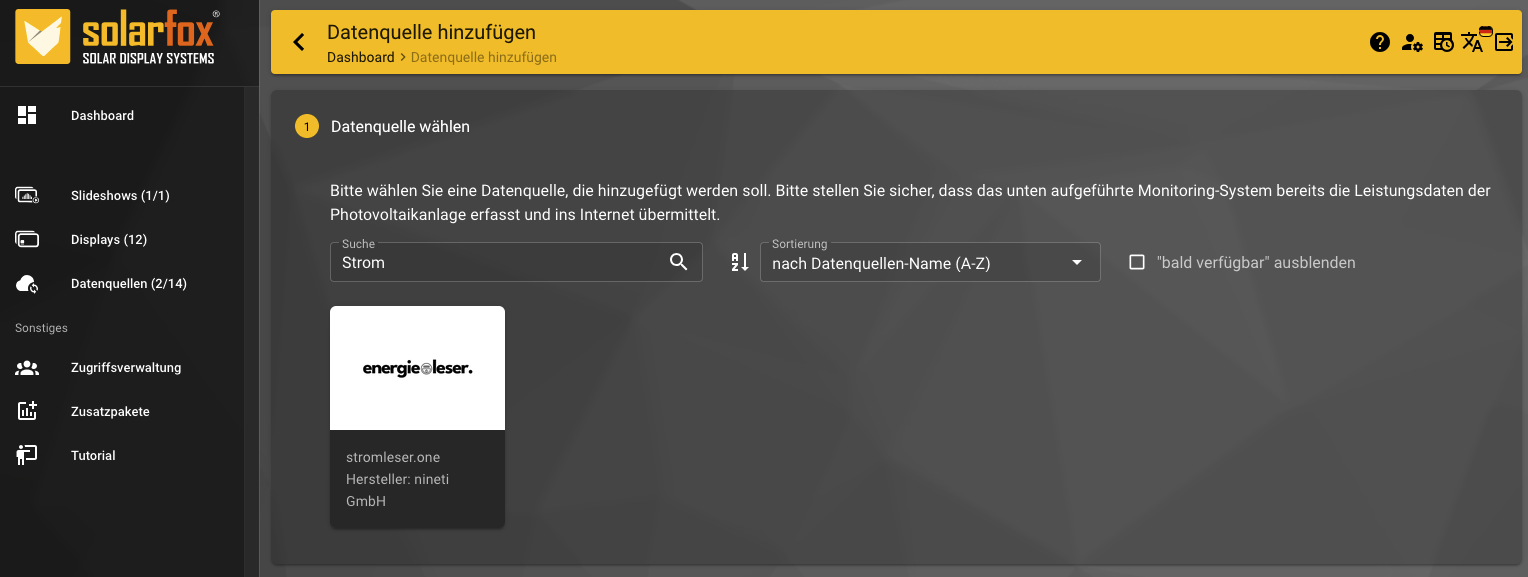
Step 1: Choose stromleser.one as the data source
- Open the Solarfox dashboard and go to Data sources → Add data source
- Search for Strom and select the stromleser.one data source (manufacturer: nineti GmbH)
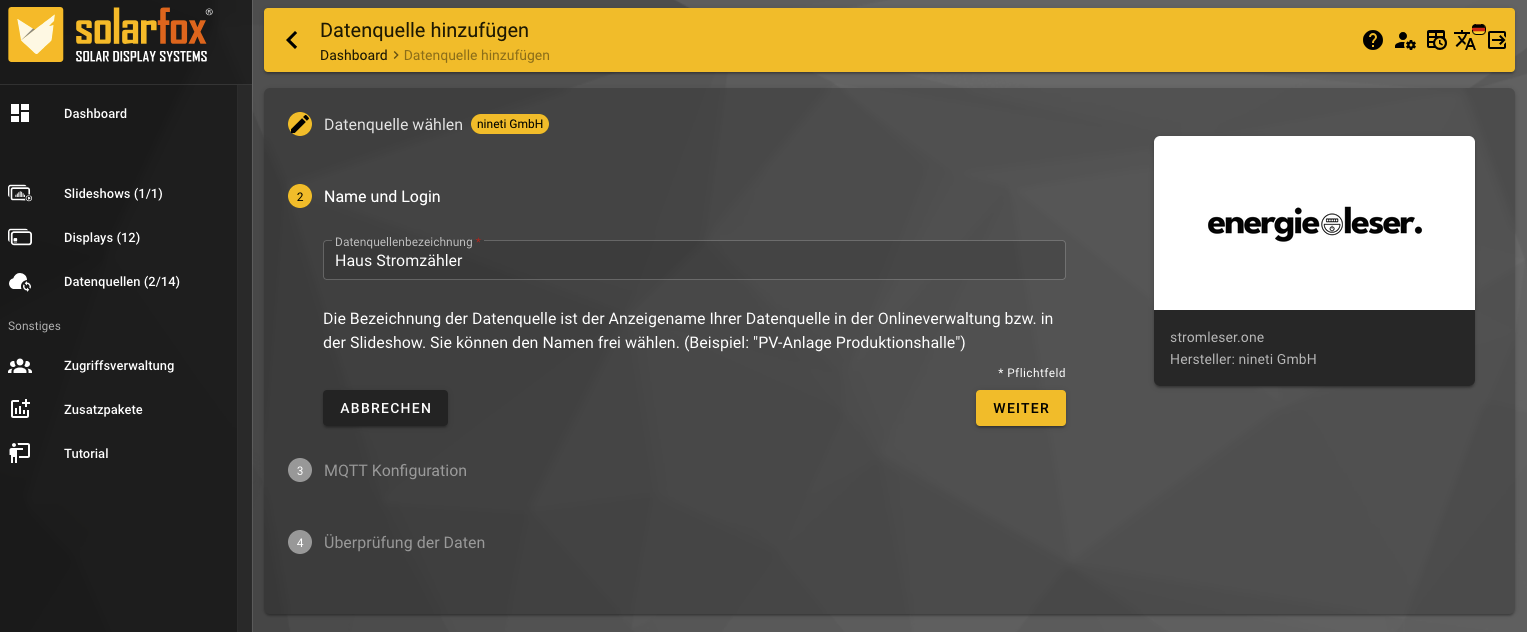
Step 2: Assign a name
- Enter a freely chosen name under Data source name (e.g. "House electricity meter")
- Click Next
Step 3: QR code for the energieleser app
- Solarfox now generates the MQTT configuration (broker URL, topic, username and password) and displays a QR code for it
- Keep this page with the QR code open – you will scan it in the energieleser app in a moment
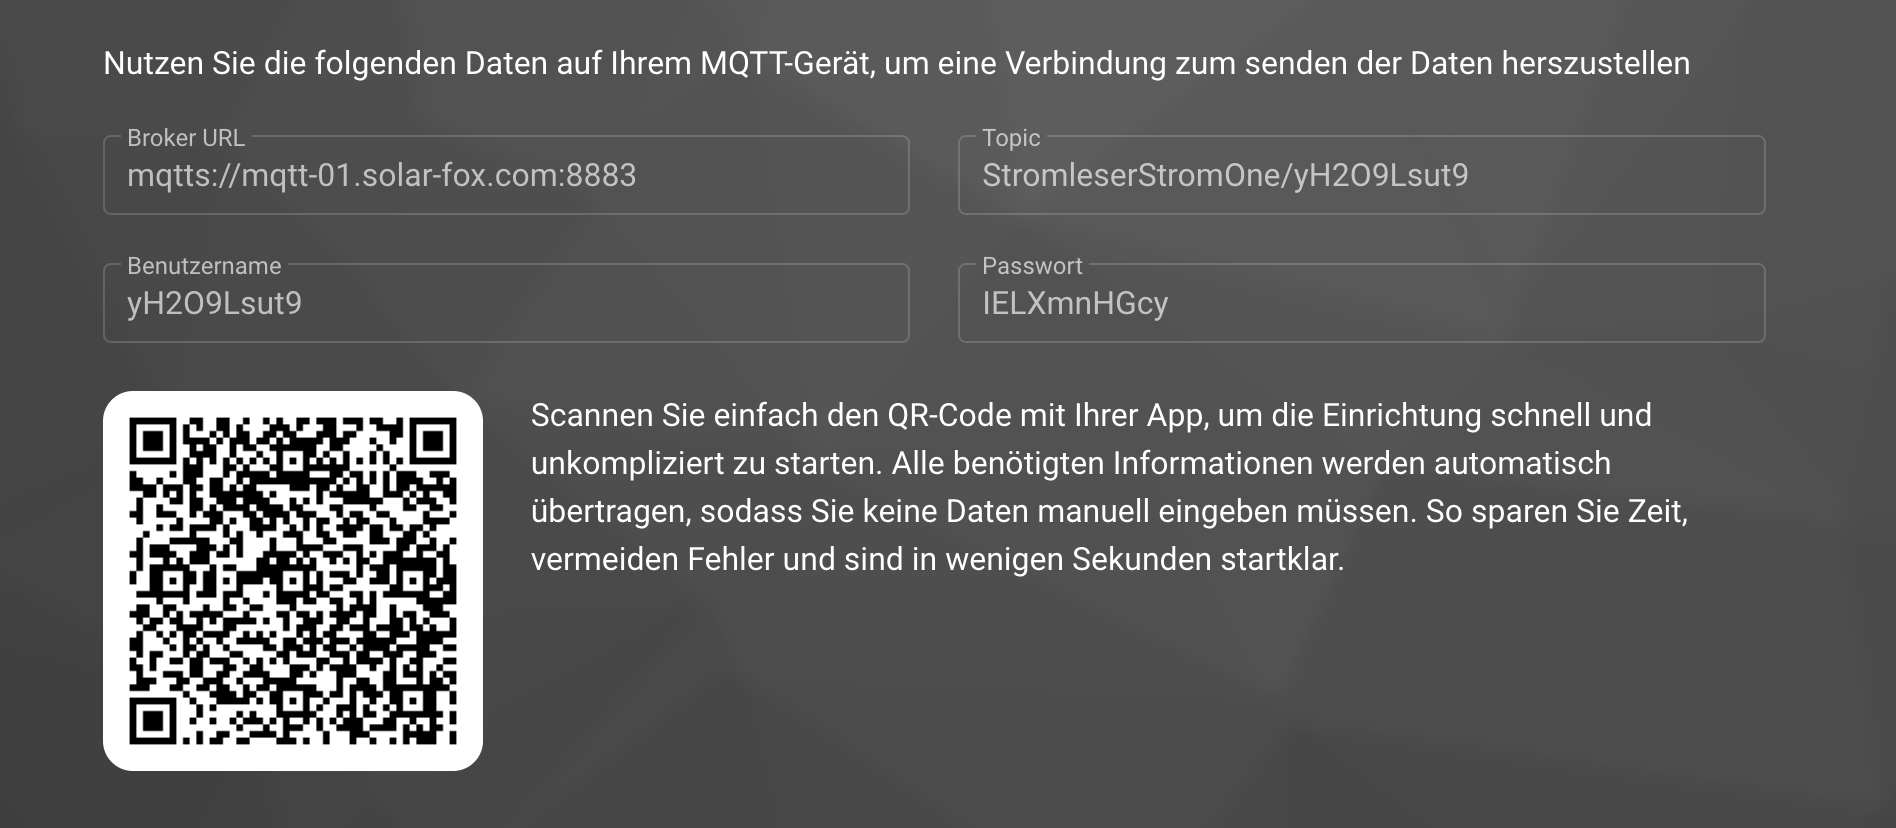
You do not need to type in the connection details by hand. When you scan the QR code, all information is transferred to the energieleser app automatically – saving time and avoiding mistakes.
Part 2: Establish the connection in the energieleser app
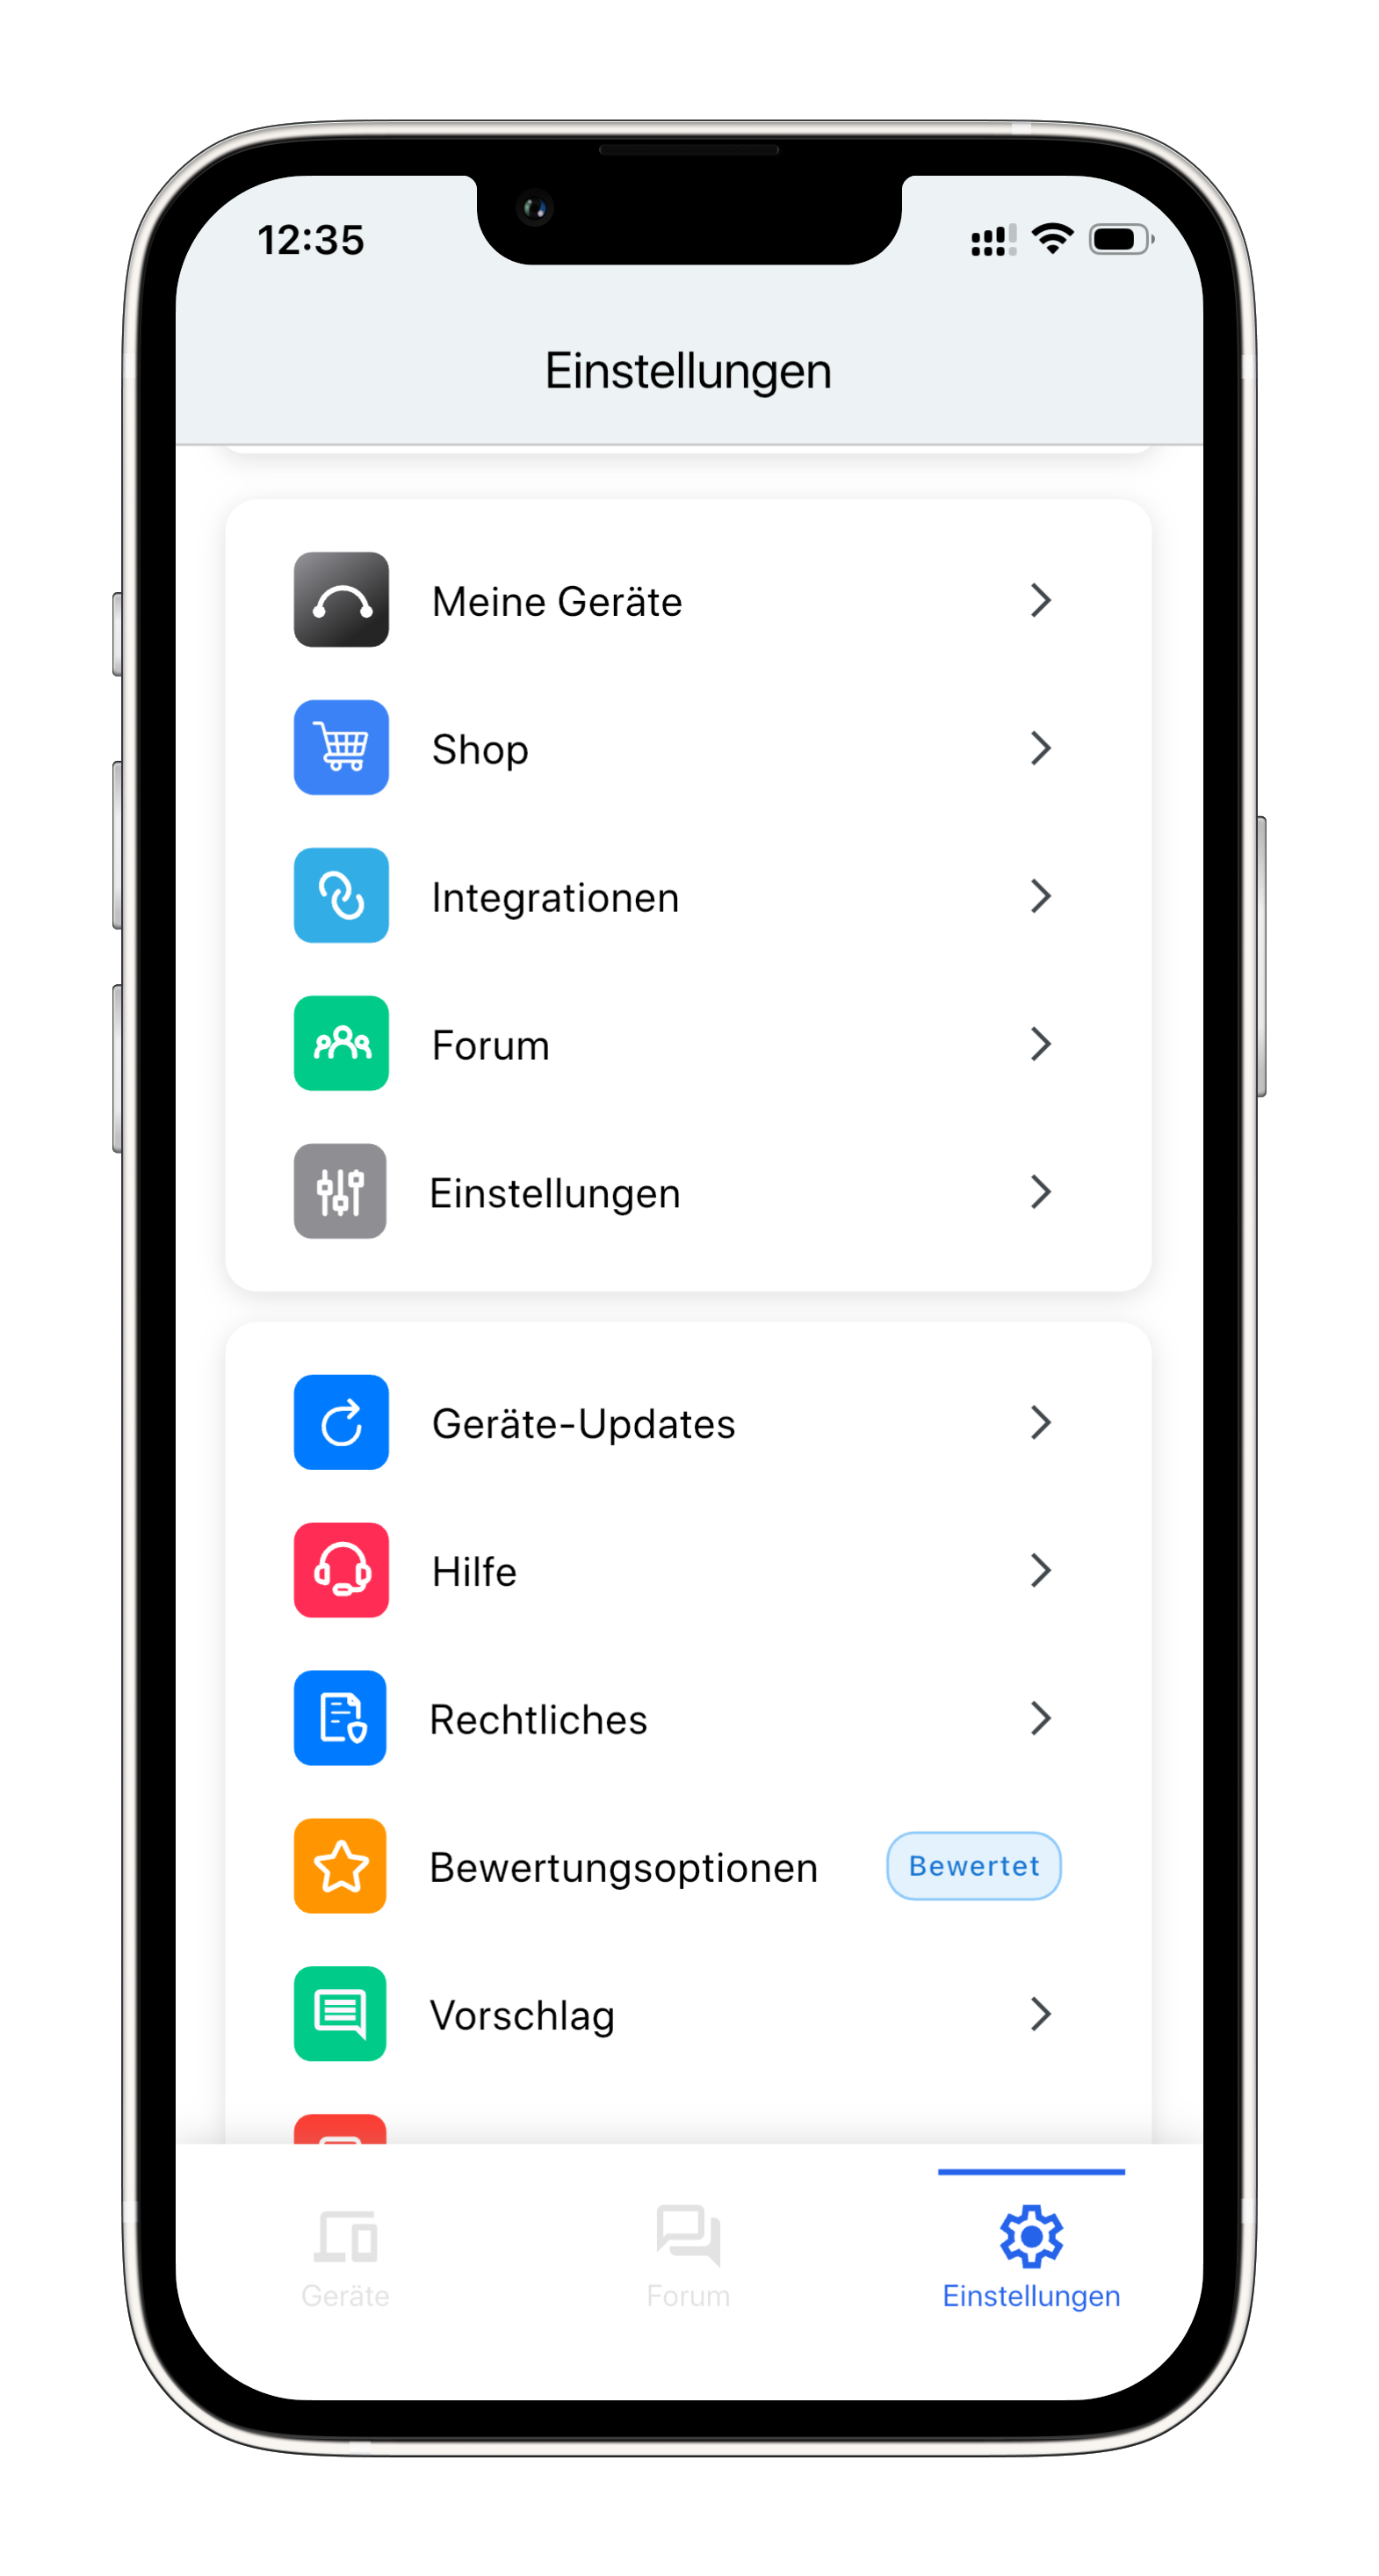
Step 1: Open Integrations
- In the energieleser app, switch to the Settings tab at the bottom of the tab bar
- Tap Integrations
Step 2: Select Solarfox
- Select Solarfox from the list of available integrations

Step 3: Select the stromleser.one device
- Select the stromleser.one device you want to connect to Solarfox
- Tap Connect Solarfox
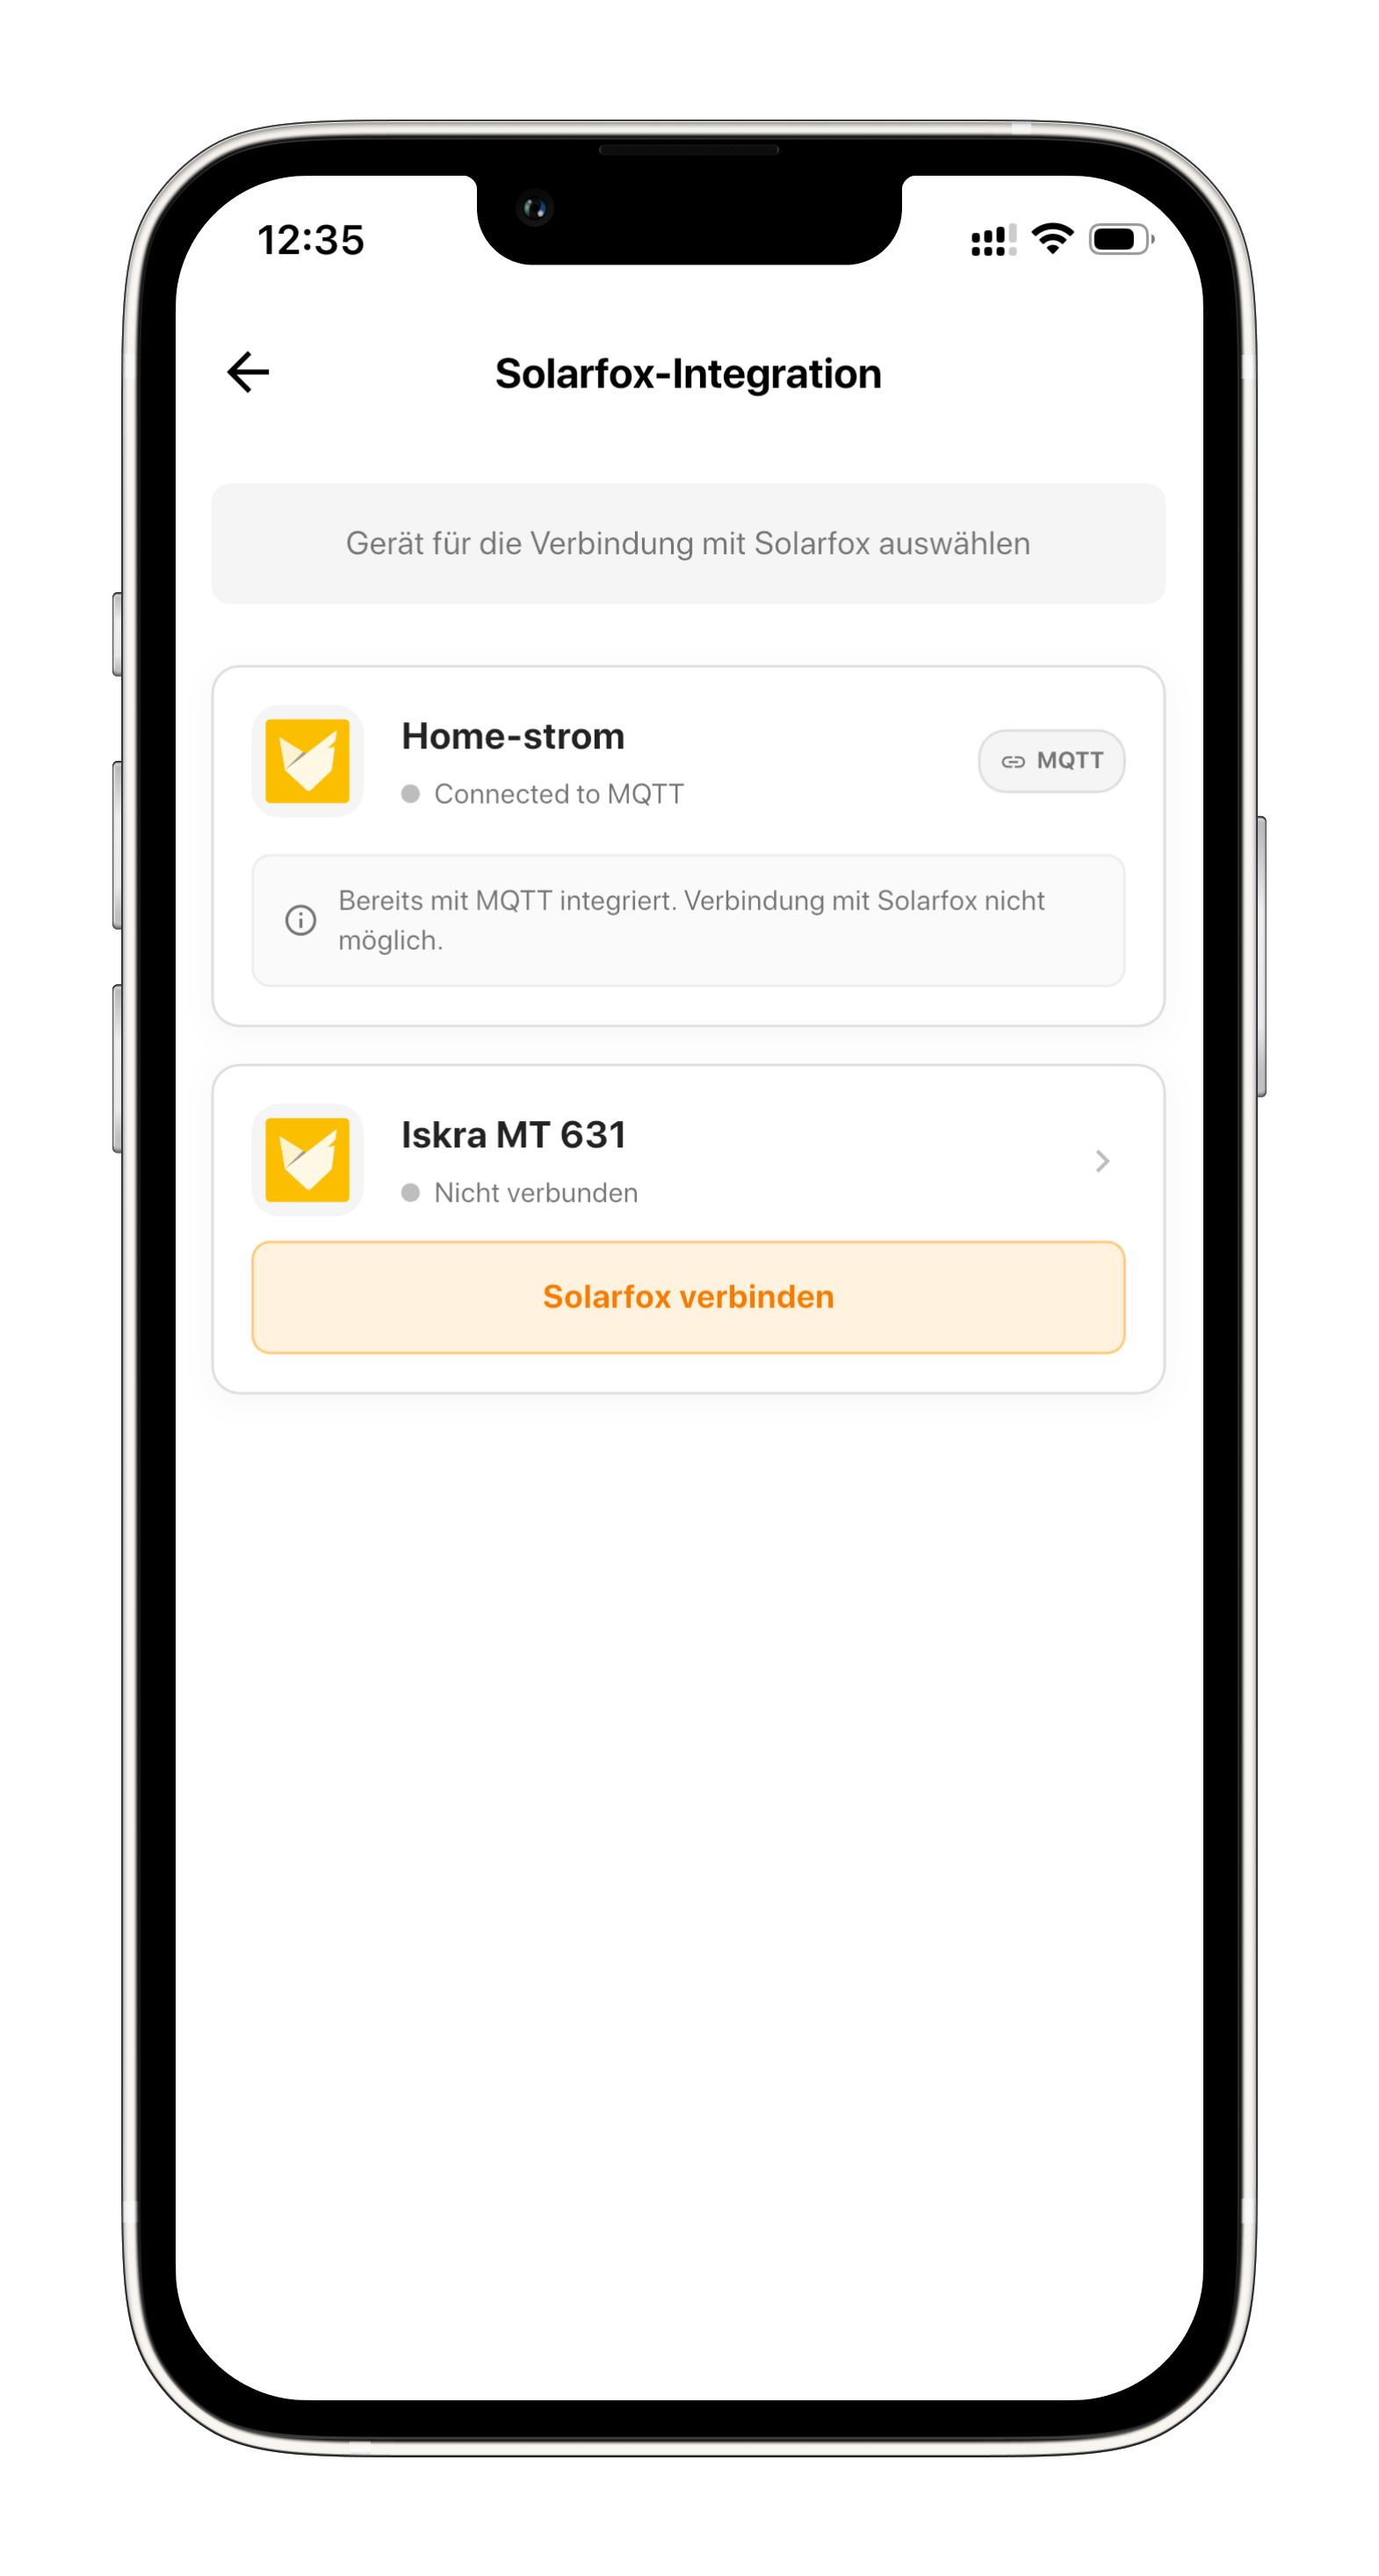
A device that is already connected to another MQTT integration is shown as "Already integrated with MQTT" and cannot additionally be connected to Solarfox.
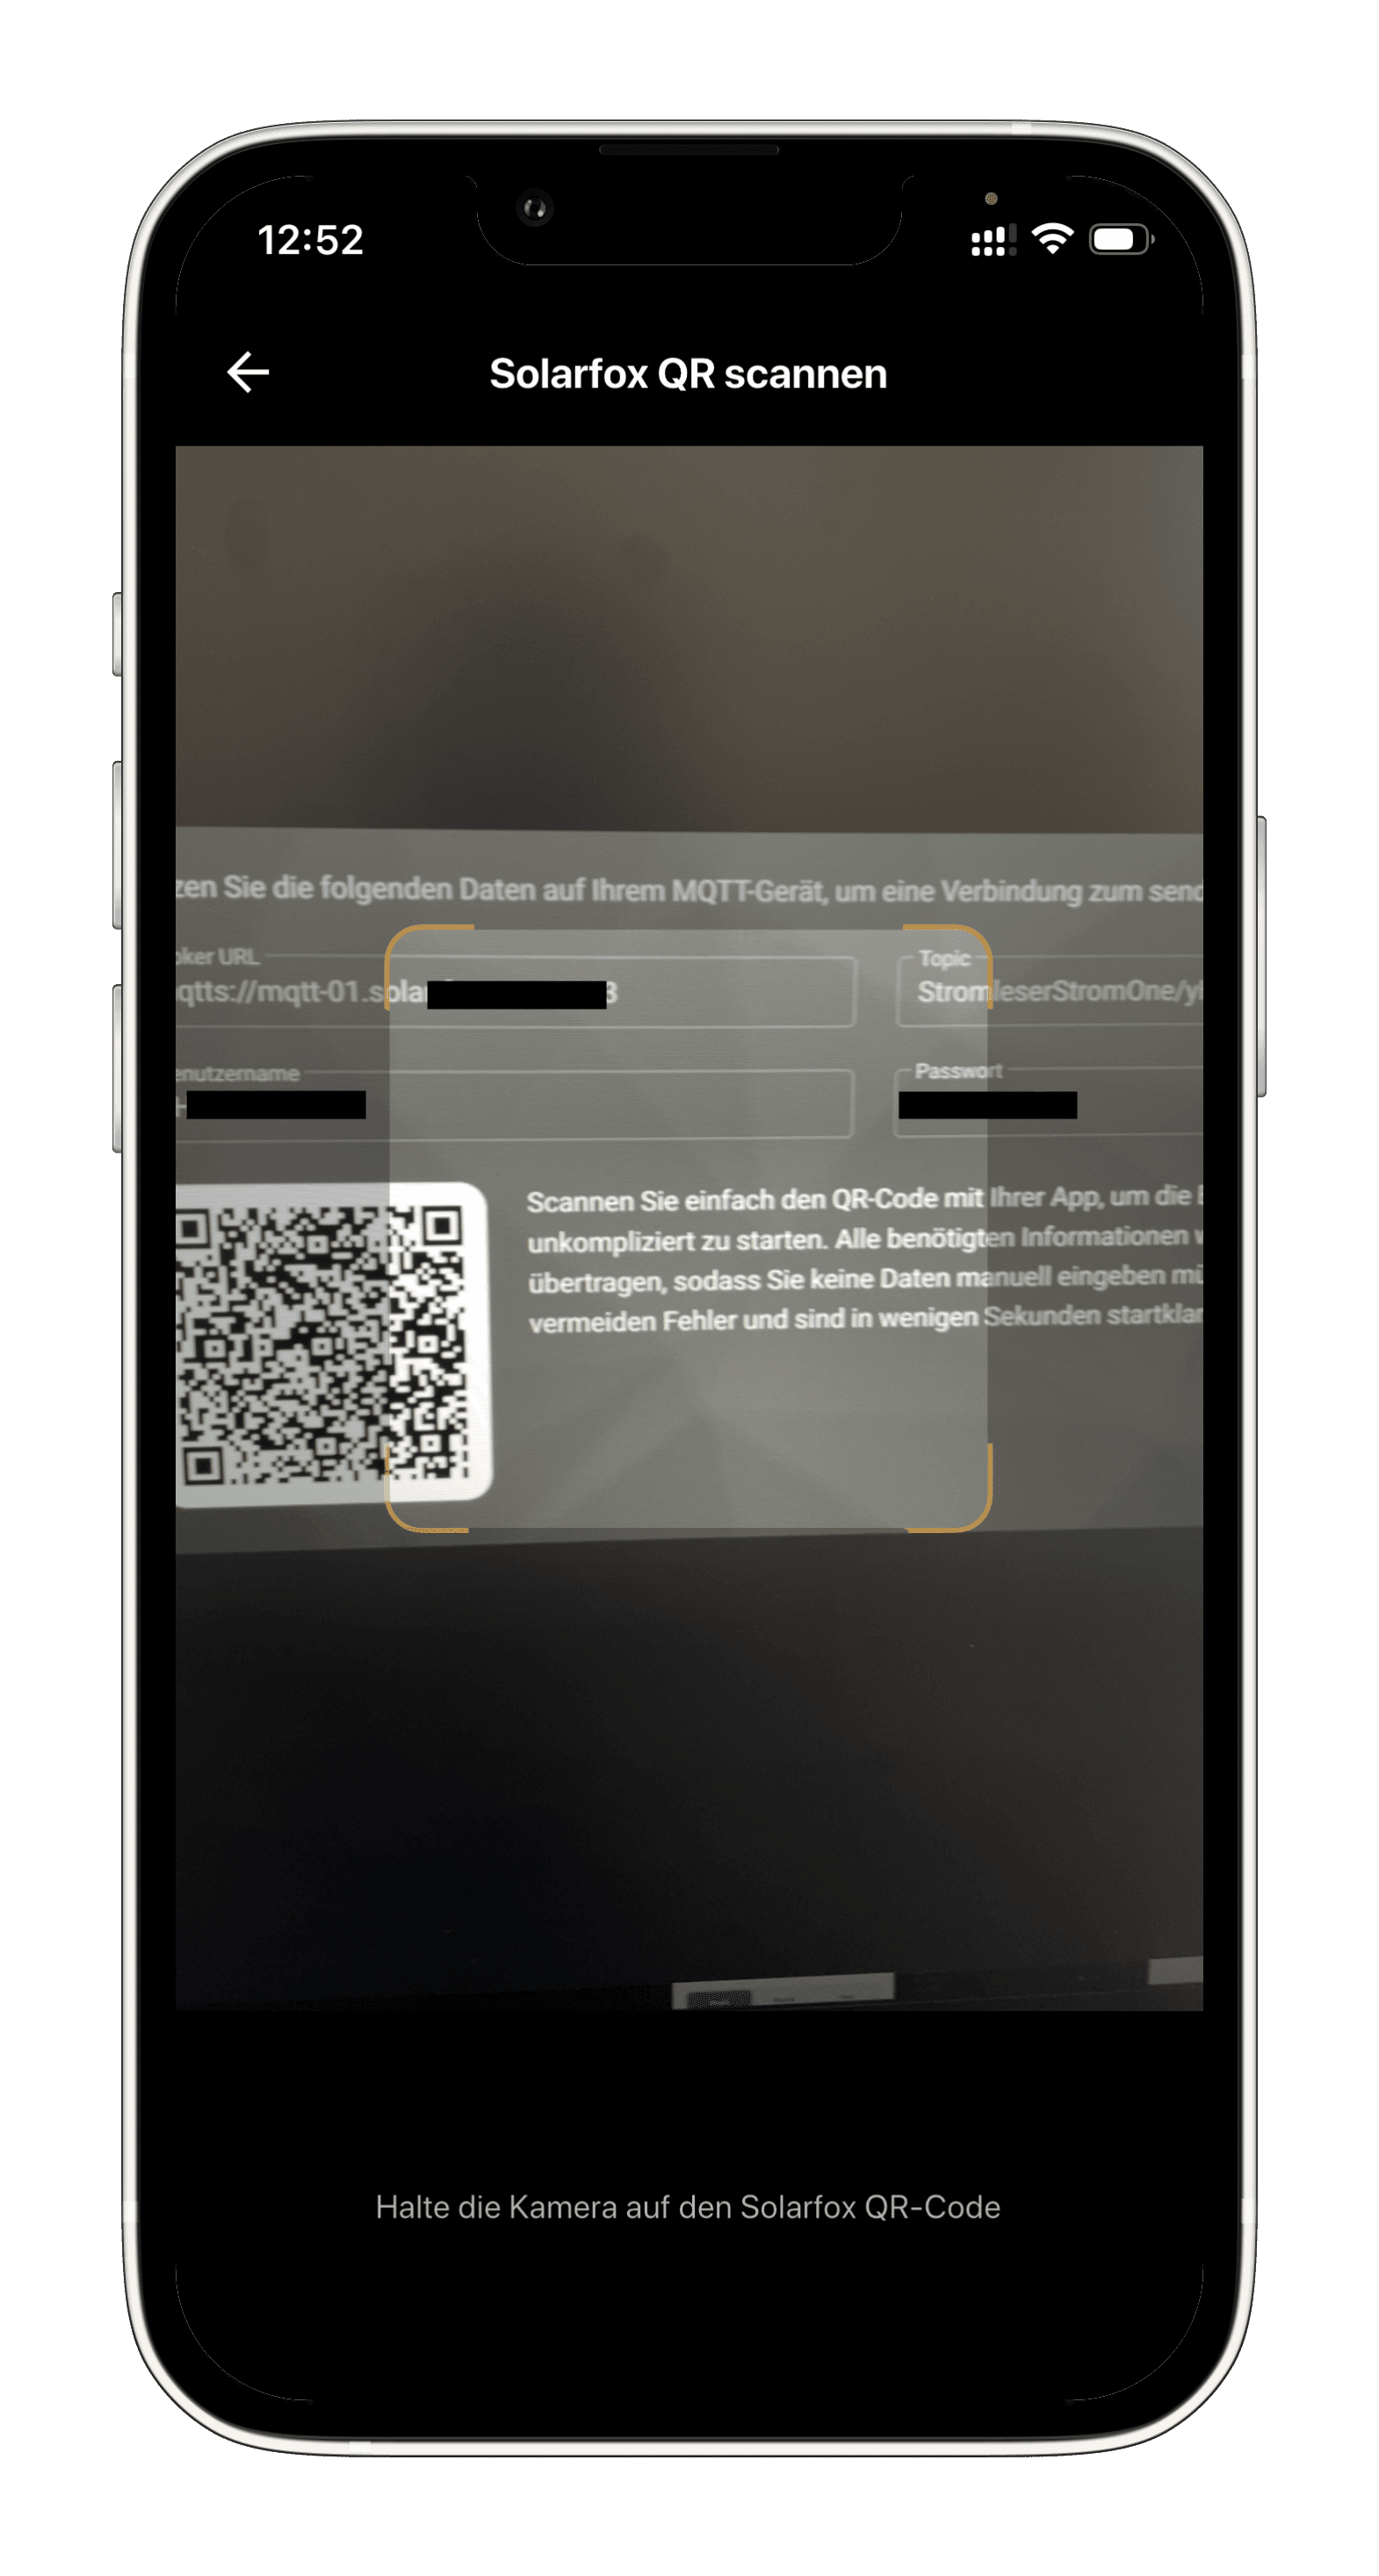
Step 4: Scan the QR code
- Point the camera at the Solarfox QR code from Part 1, Step 3
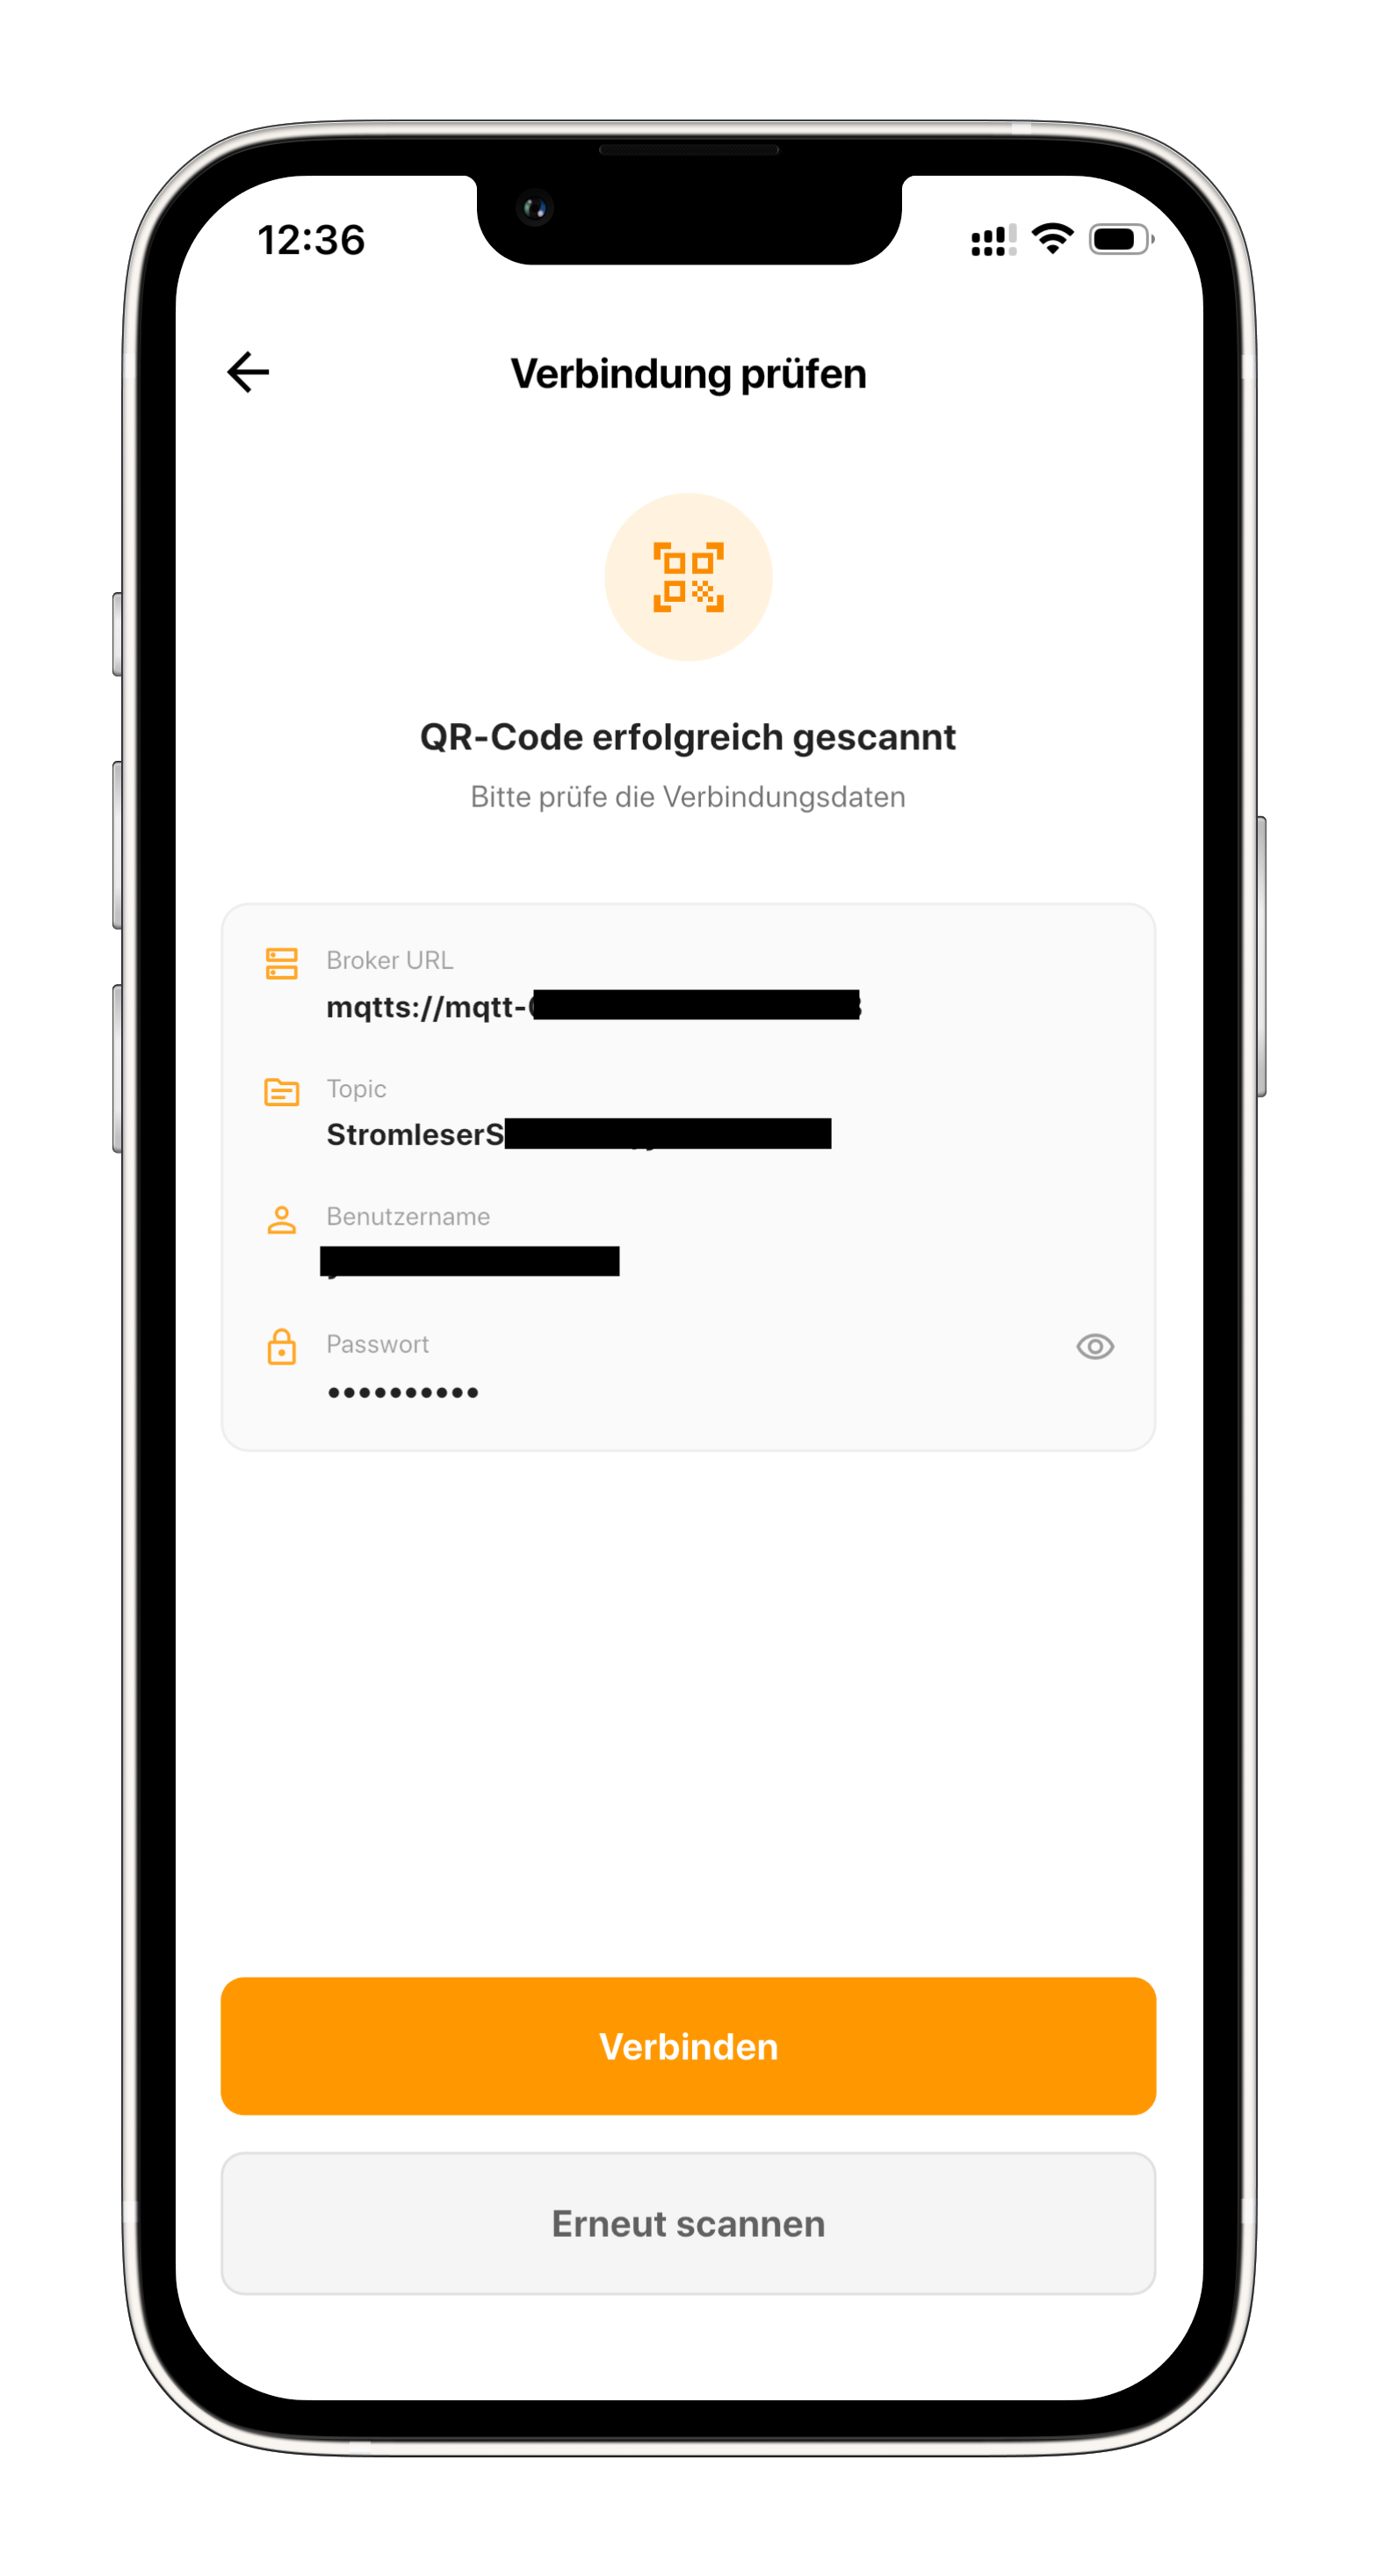
Step 5: Confirm the connection details
- After a successful scan, the app automatically transfers all MQTT connection details (broker URL, topic, username and password)
- Check the details and tap Connect
Done!
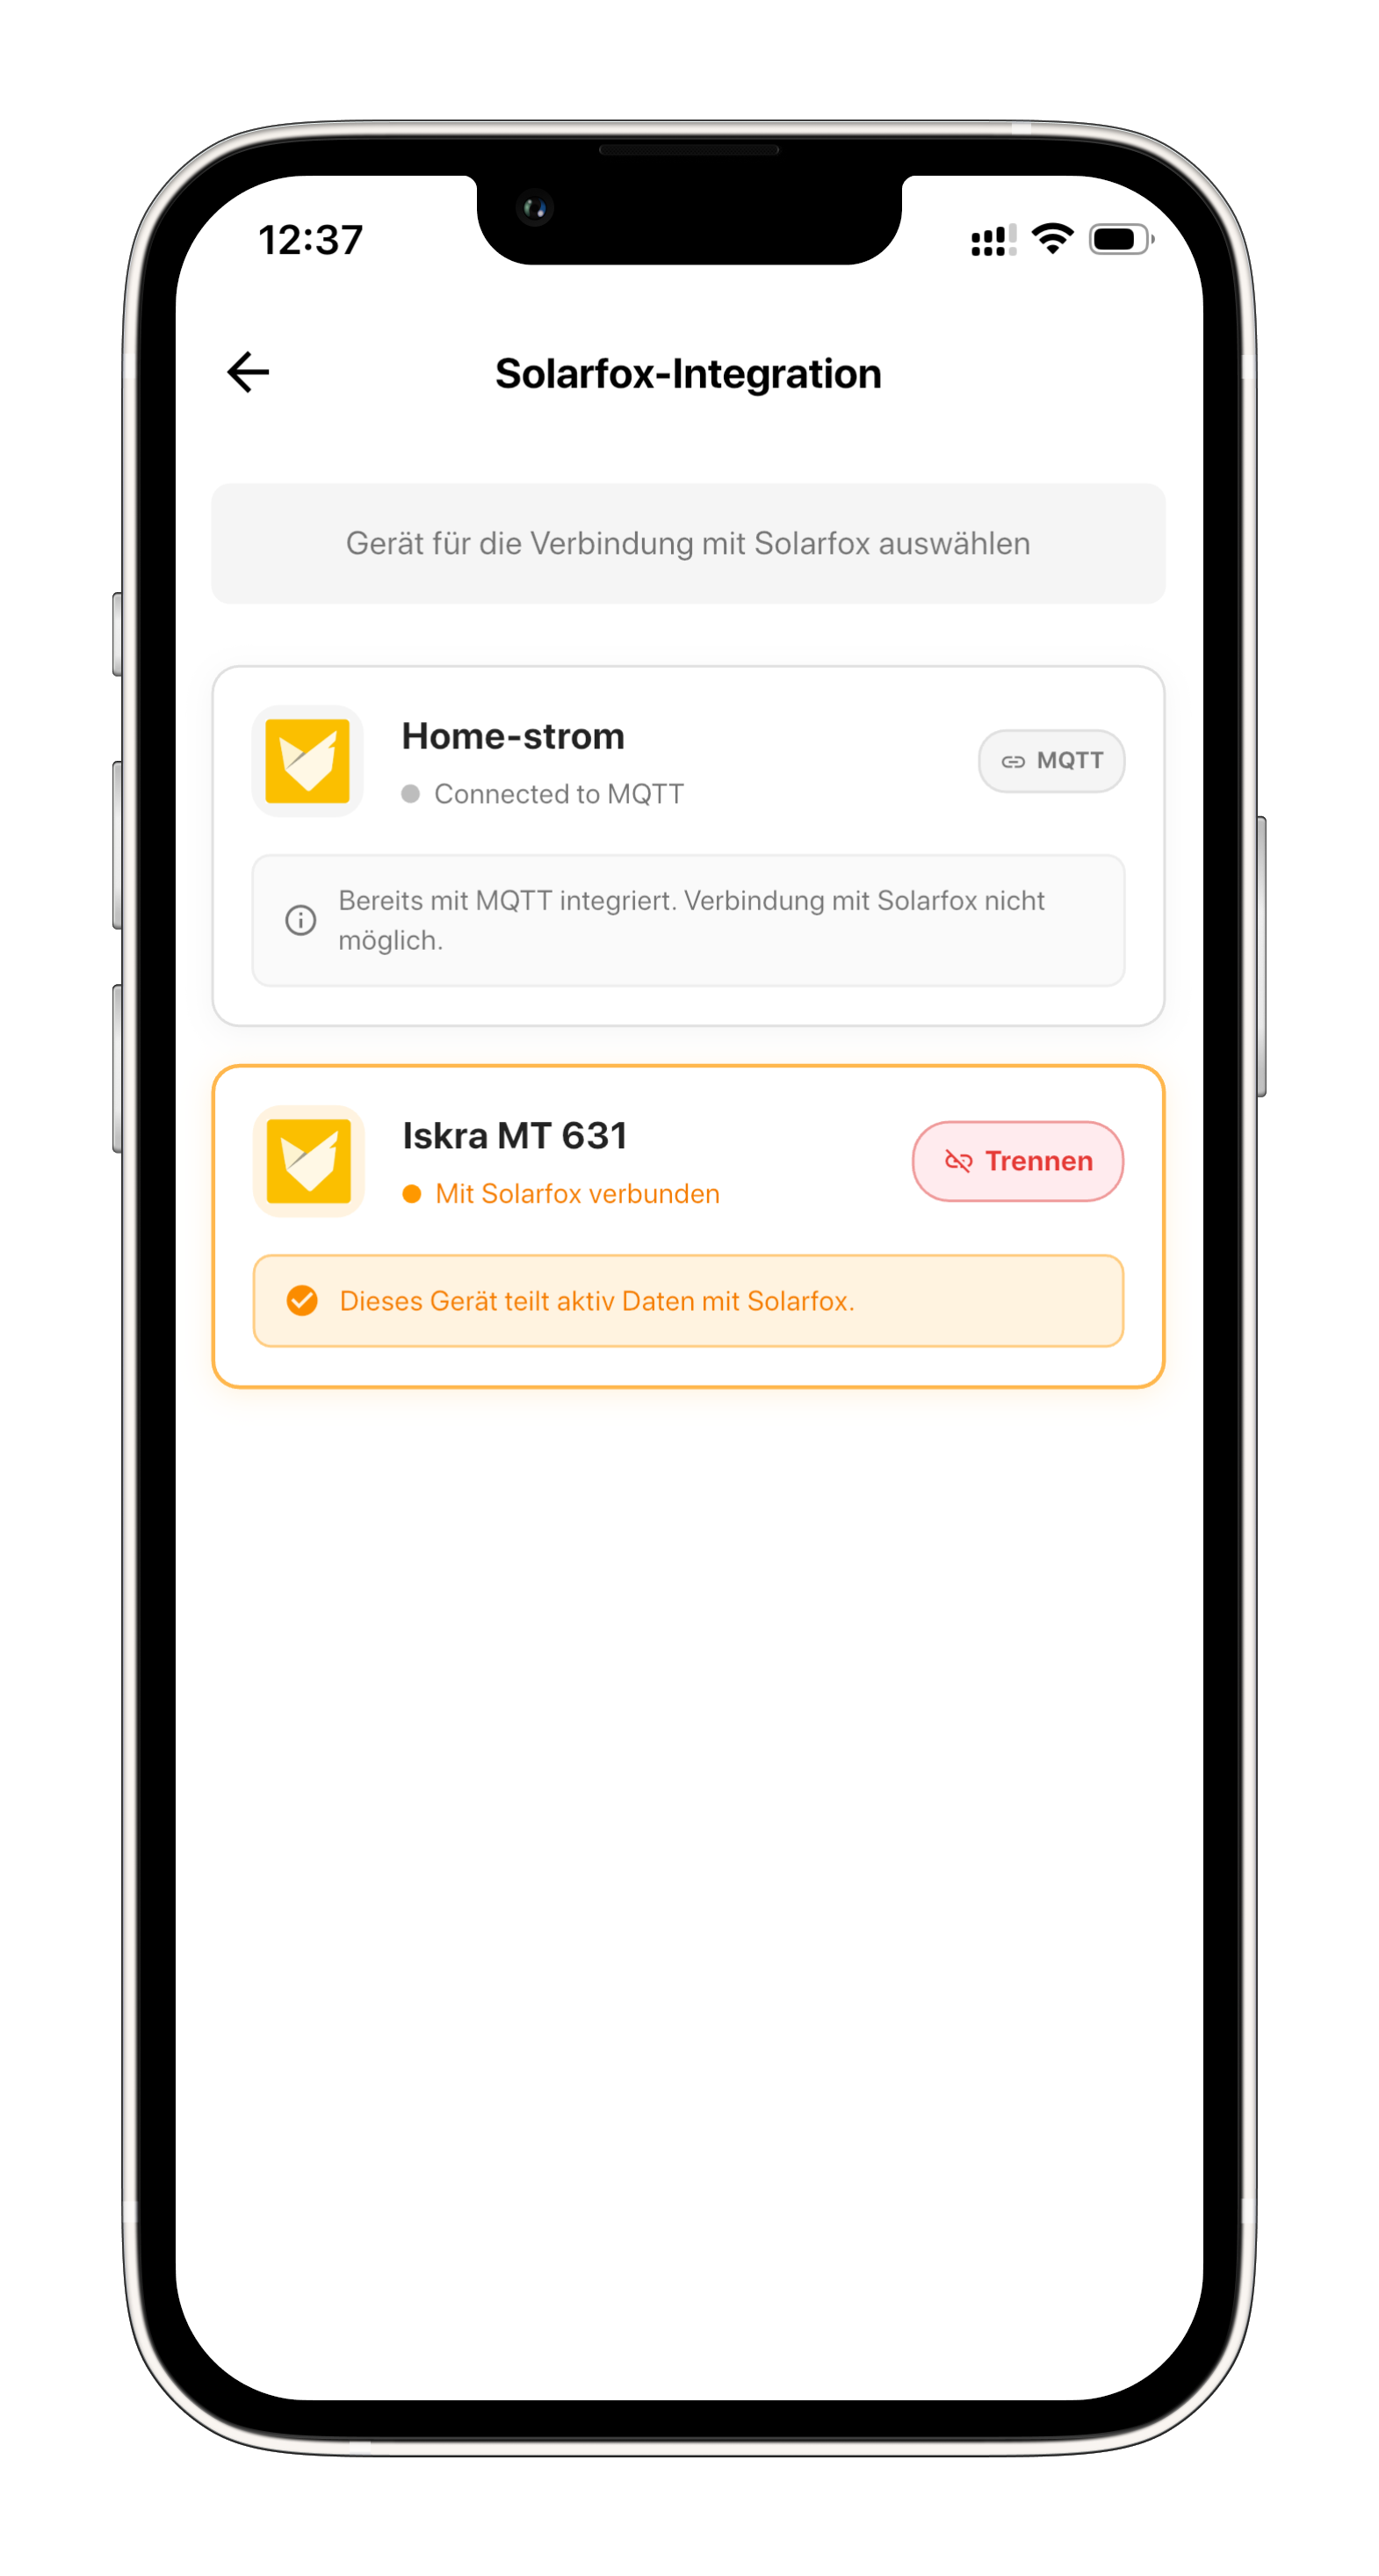
Your stromleser.one is now connected to Solarfox. In the device overview the device is shown as "Connected to Solarfox" and the note "This device is actively sharing data with Solarfox" appears. Your meter data is now transmitted to the Solarfox display system via MQTT.
If you want to remove the connection, tap Disconnect on the device in the Solarfox integration.
Of course, all data and graphics from the stromleser.one remain visible in the energieleser app.
Common problems
The device cannot be selected
- If a device is shown as "Already integrated with MQTT", it is already connected to another MQTT integration and cannot additionally be connected to Solarfox
- In that case, disconnect the existing integration first
The QR code is not recognized
- Make sure there is enough light and keep the entire QR code within the camera frame
- Make sure the QR code is still displayed in the Solarfox dashboard – regenerate it via Add data source if needed
- Alternatively, tap Scan again
No data in Solarfox
- Check whether the stromleser.one is online in the energieleser app and delivering live data
- Make sure the connection is shown as "Connected to Solarfox" in the app