Physical Installation
Meter already unlocked?
If not done yet, first unlock your electricity meter in extended mode: Unlock electricity meter.
Installing the stromleser.one is usually straightforward and takes only a few minutes.
Step 1: Attach stromleser.one to the meter
Installation on the meter is very simple in most cases:
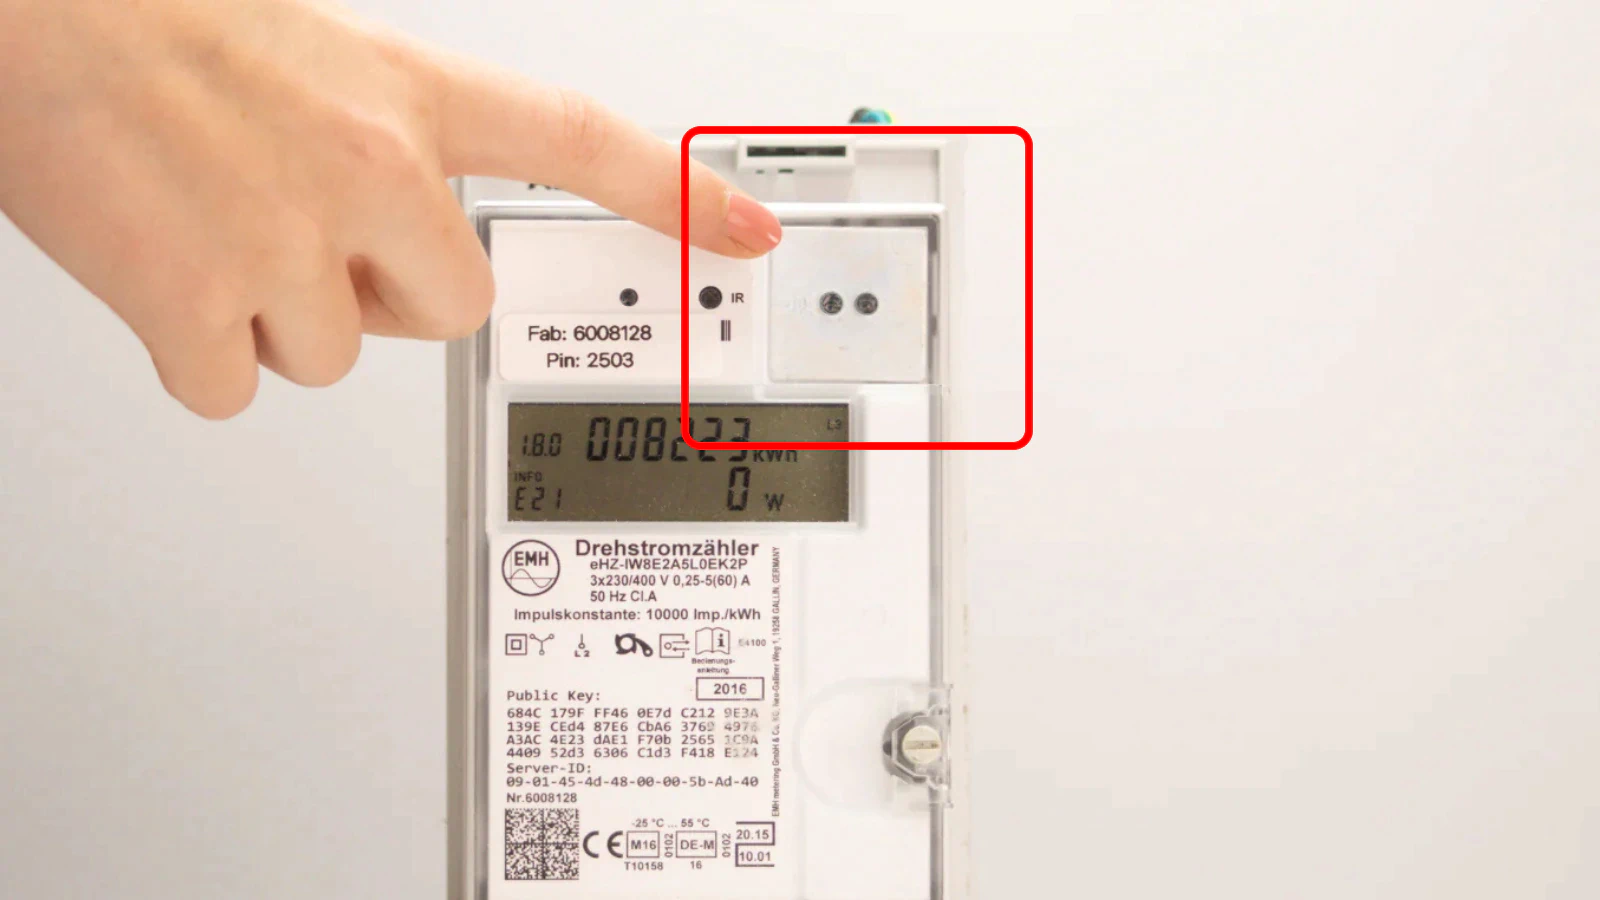
- Check orientation
- Make sure the stromleser symbol on the TTL reading head points forward – as if it's smiling at you
- The meter can only be read correctly in this position
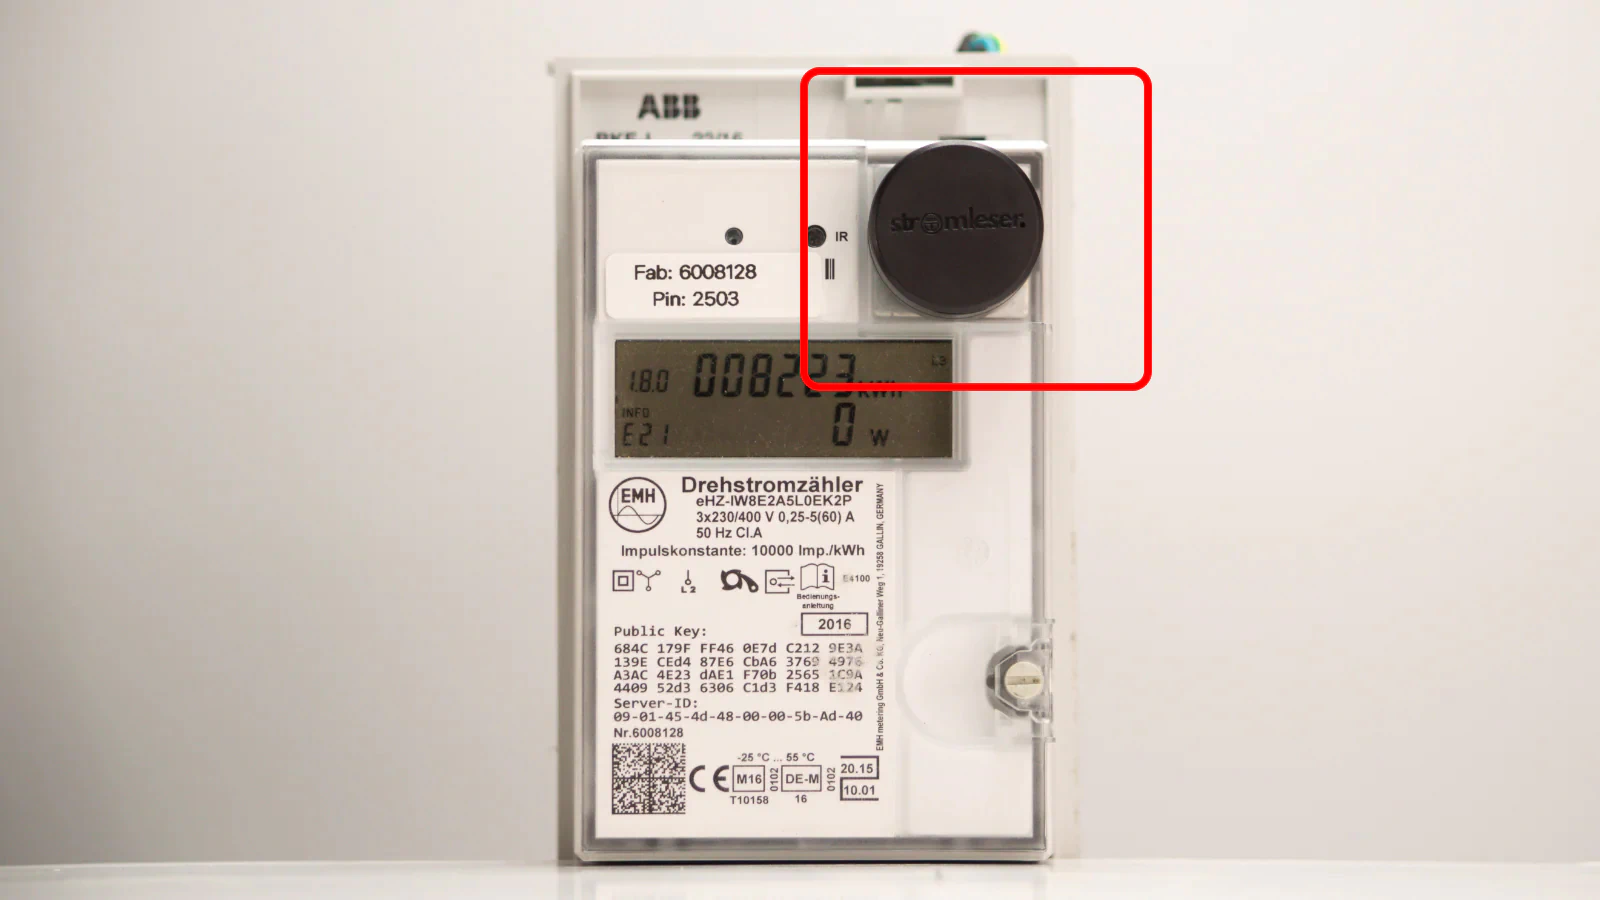
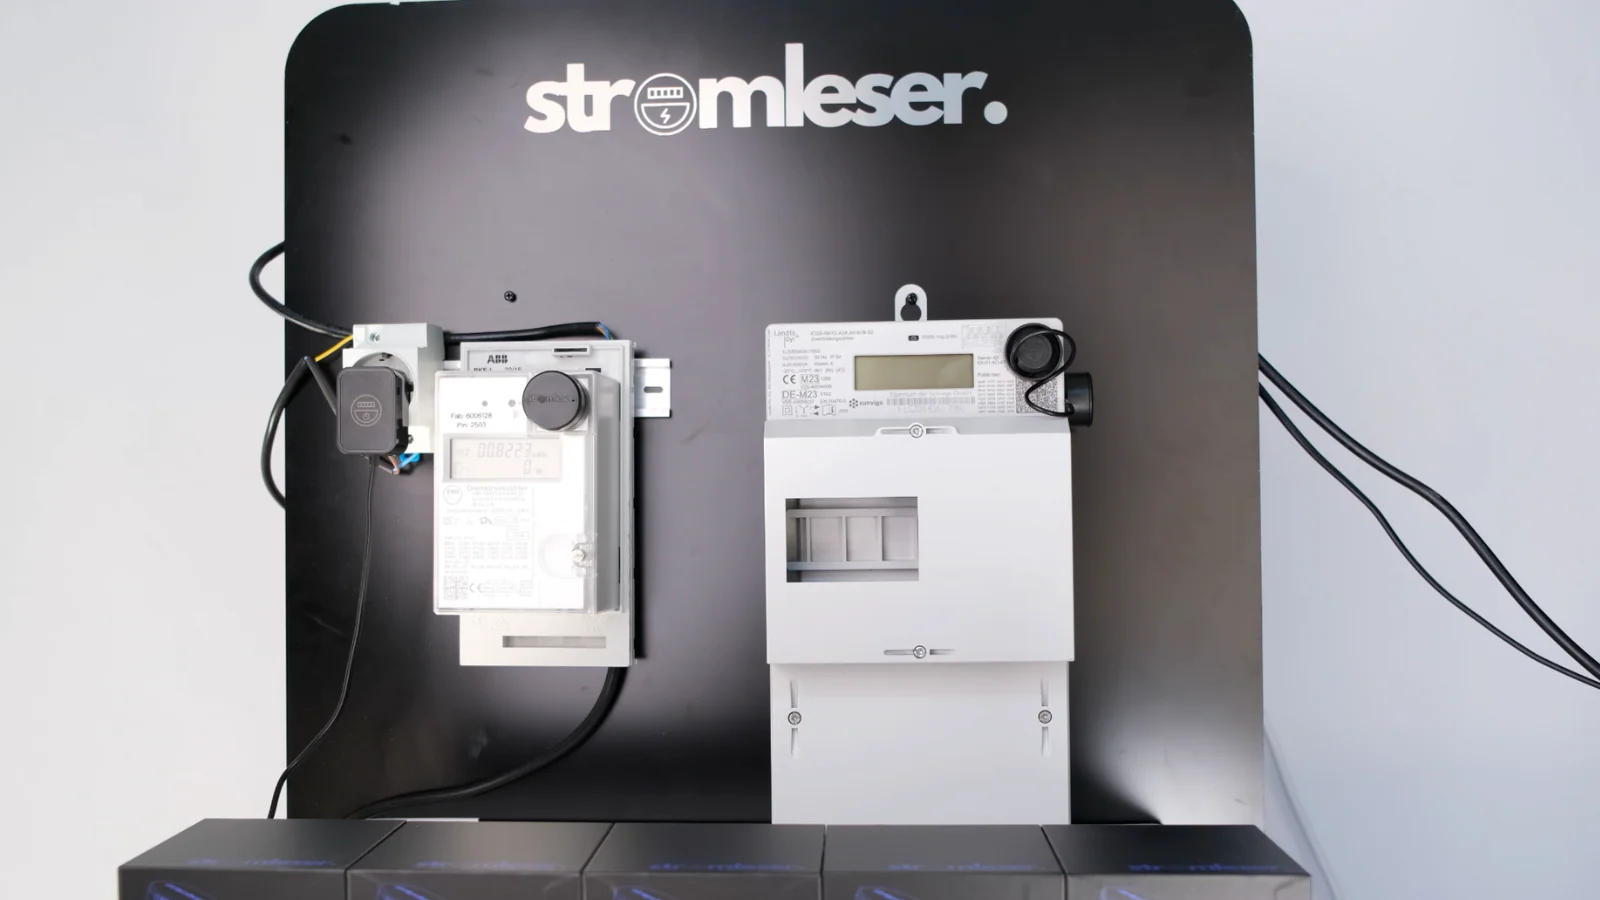
- Attach to meter
- In most cases, you can place the stromleser.one directly from the packaging onto your digital electricity meter
![]()
- The magnetic attachment holds the device securely on the meter
Step 2: Weak magnet on the meter?
If your digital meter has a weak magnet, you can use the included metal disc:
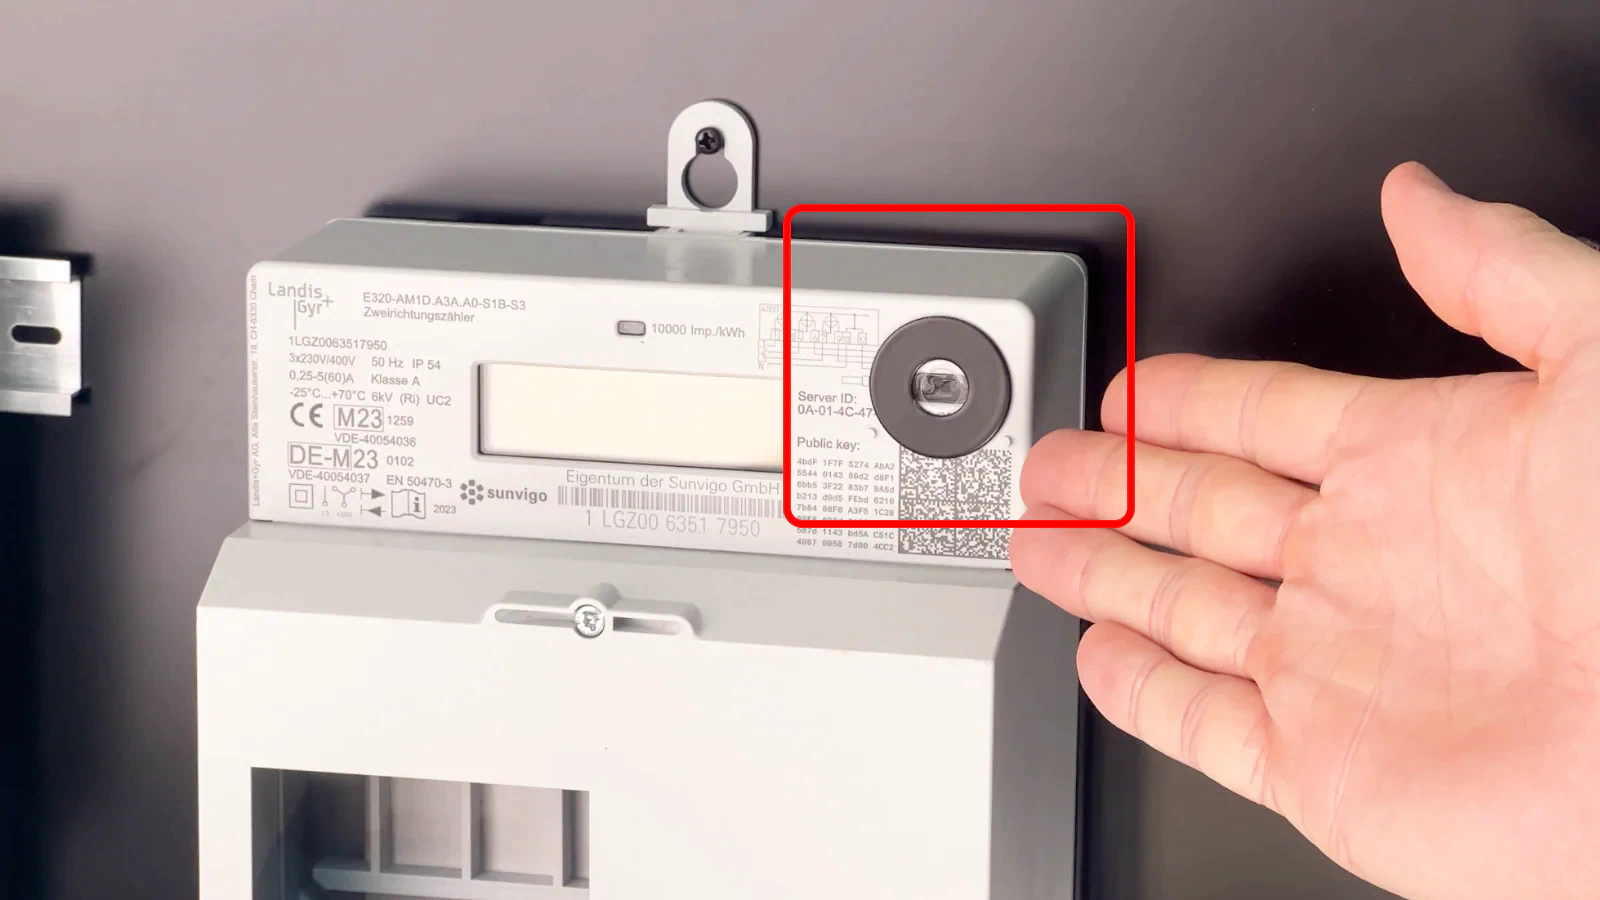
- Attach metal disc
- Stick it on the optical interface
- Make sure the light source is not covered
- Alternative mounting with limited space
- If the cable is in the way due to the plastic base on the meter,
- You can mount the Wi-Fi module separately thanks to the two-part design of the stromleser.one with the included 3M adhesive pad
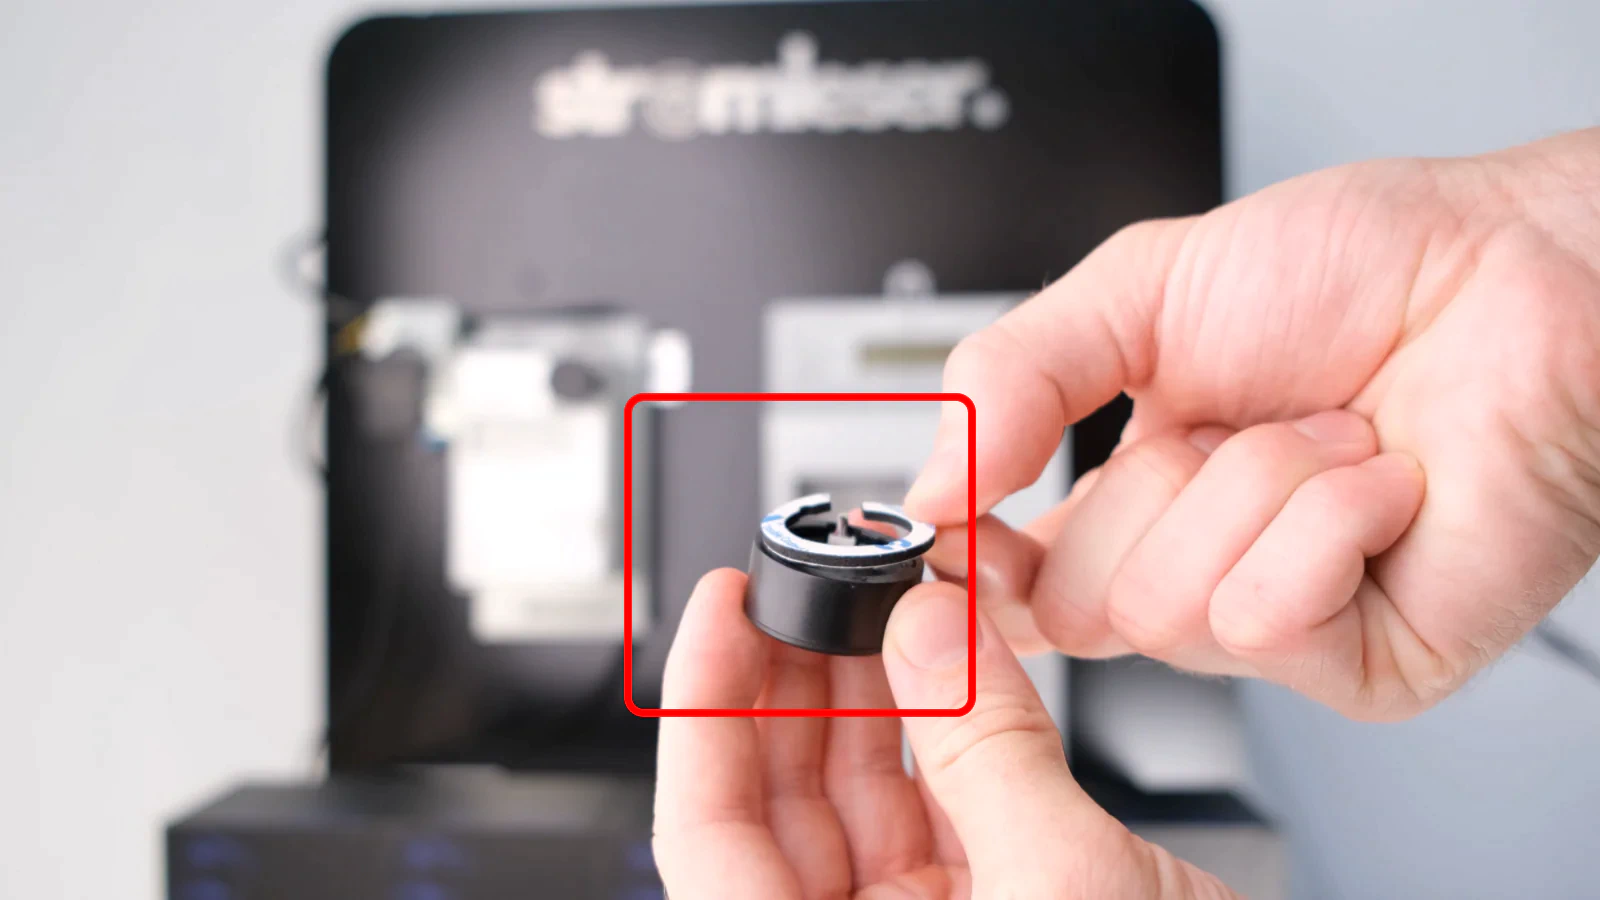
- For example, on the side of the meter
LED indicators during installation
During installation, the LED shows various statuses:
- Rapidly flashing blue: Wi-Fi setup is being prepared
- Flashing green: Successfully connected
- Flashing red: Error occurred – see reset guide
Next Steps
After physical installation:
- Connect the power supply to your stromleser.one
- Set up the connection in the stromleser app and connect the device to your Wi-Fi